FreeRTOS FSBL: Difference between revisions
From ift
mNo edit summary |
mNo edit summary |
||
| Line 1: | Line 1: | ||
Tested on Xilinx Vivado/SDK 2017.3, Ubuntu 16.04 LTS. | Tested on Xilinx Vivado/SDK 2017.3, Ubuntu 16.04 LTS. | ||
This tutorial assumes you have completed the "[[Running FreeRTOS on Xilinx Zybo]]"-tutorial. | This tutorial assumes you have completed the "[[Running FreeRTOS on Xilinx Zybo]]"-tutorial. | ||
===== | ===== Creating FSBL ===== | ||
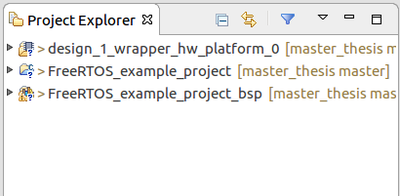
The result from the previous tutorial linked at the top of this tutorial, should be a Project Explorer looking like this: | |||
[[File: | [[File:project_explorer_start.png|400px|center]]<br /> | ||
... | Goto ''File --> New --> Application Project''. Name the new project "FSBL" and let OS platform be "standalone". On the next page, choose the "Zynq FSBL"-template. Finish. | ||
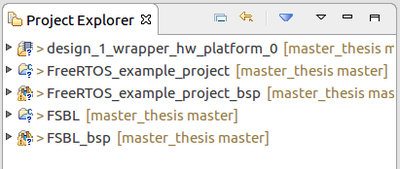
The Project Explorer should now contain the following: | |||
[[File:fsbl_created.png|400px|center]]<br /> | |||
Revision as of 17:53, 6 December 2017
Tested on Xilinx Vivado/SDK 2017.3, Ubuntu 16.04 LTS.
This tutorial assumes you have completed the "Running FreeRTOS on Xilinx Zybo"-tutorial.
Creating FSBL
The result from the previous tutorial linked at the top of this tutorial, should be a Project Explorer looking like this:

Goto File --> New --> Application Project. Name the new project "FSBL" and let OS platform be "standalone". On the next page, choose the "Zynq FSBL"-template. Finish. The Project Explorer should now contain the following:

