Running concurrent application projects in Xilinx SDK
Tested on Xilinx SDK 2017.4, with Xilinx Digilent Zybo SoC.
Running concurrent application projects in Xilinx SDK
This tutorial gives a brief introduction to running concurrent application projects in Xilinx SDK on a micro processor. This is done by assigning each of the Application Projects a specific processor core to run on.
Requirements
This tutorial requires a multi-core micro processor system that can be programmed by Xilinx SDK. It also assumes that the user has two working independent Project applications with respective Board Support Packages (BSP's) generated by the "File --> New --> Project Application" menu.
Assigning application project to specific processor core
Click once on one of the Application projects in the Project Explorer Tree.
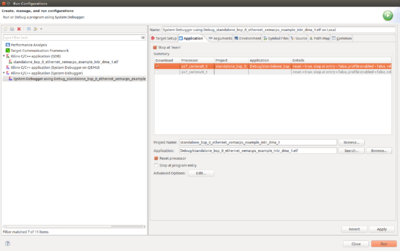
Goto: "Run --> Run Configurations". Then click on "System Debugger using Debug_standalone_bsp_0_NAMEOFYOURPROJECT.elf on Local" under "Xilinx C/C++ application (SystemDebugger).
Then open the Application tab. You should now see that your application is configured in the Summary window to run on core 0 on whatever processor you're using.

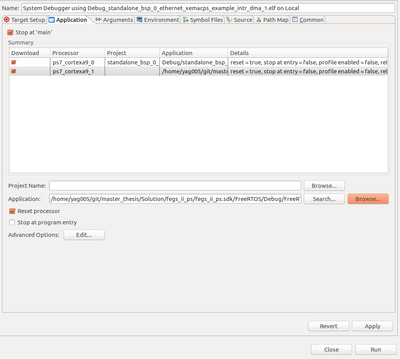
The next step is to take use of the other processor core, by assigning it the other application project you want to run. Click on the line with the processor core you want to use (ps7_cortexa9_1 for this tutorial), mark "Download", and click on Browse in the Application bar. Find the nameofproject.elf file for the application project, usually found under /NameOfVivadoProject.sdk/NameOfProject/Debug/NameOfProject.elf. For this tutorial we added the FreeRTOS.elf created in the Running FreeRTOS on Xilinx Zybo-tutorial. It should now look like this:

Click Apply, and run. This should program the processor over JTAG, and both applications should be up and running.
