Creating example project with AXI4 Lite peripheral in Xilinx Vivado
Tested on Xilinx Vivado 2017.3, using the Xilinx Digilent Zybo SoC.
Start ./vivado from installed directory.
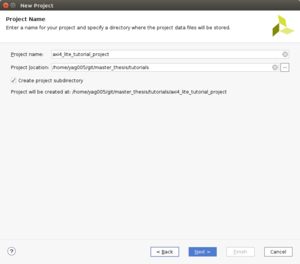
Goto: File -> New Project -> Next. For this project we will name it "axi4_lite_tutorial_project" and place it in a folder named tutorials. Click Next and choose RTL Project, then Next.

Do not add any sources, but make sure that both target and simulator language is set to the appropriate language you're using. In this project we will use VHDL. Click Next. Here you must provide a constraints file named "ZYBO_Master.xdc", available from GitHub. Make sure that the option to copy the constraints file(s) into the project is marked.
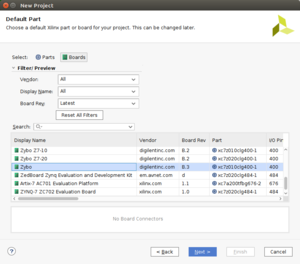
For the next step, the board files for the board we're using must have been installed. If this is not the case, follow this tutorial to do so.

Choose the Zybo board, click next, and finish.
The project has now been created and ready for IP-block integration.
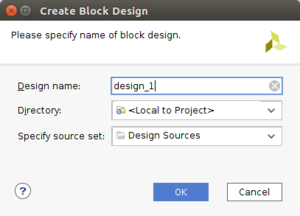
Click on "Create Block Design" in the left of the window. Give the design a name, for instance design_1, and click "OK".

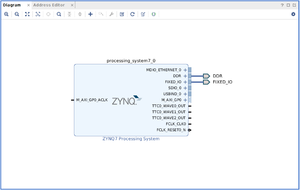
Now press the "+" button in the diagram window, and search for "ZYNQ7 Processing System". Double click to add. In the top of the window an option to "Run Block Automation" appears.. Click this, and complete with default settings. The window should now look like this:

